- Guides
- Explainer
Why AI Headshots Look Fake: The Seven Tells
Synthetic skin, an unnatural gaze, light that doesn’t match the scene, and a face that’s almost – but not quite – you. The seven ways AI headshots go wrong, each demonstrated live with our own free generator, and what prevents each one. Written by people who sell the things.
Two disclosures first, because they change how to read this.
We sell AI headshots. This is a list of our own product category’s failure modes, written by people who look at them all day.
Every bad example below comes from our free generator. Its output is better than what several paid generators sell – some of the failures below show up in its everyday results, and the rarer ones we had to rerun for and hand-pick. Either way, you’re seeing the free tier at its worst, which makes it a fair floor for judging any other tool. We did that too: 30 free generators, one selfie.
The failures share one root. An image model doesn’t photograph you. It starts from noise and moves pixels toward a plausible portrait of your face. That works well for the statistically common parts of a picture – skin planes, blazer lapels, blurred offices – and badly for anything rare, small, reflective, or governed by physics: a nose stud, an earring pair, the way a lens bends light. Each of the seven tells lives in one of those blind spots.
Tell 1: synthetic skin texture
Real skin texture is irregular – pores of different sizes, fine lines, color that varies from cheek to forehead. A model doesn’t copy that texture from your photo; it re-renders it from statistics, and the statistics fail in one of two directions. Either the texture disappears – skin smoothed to a waxy surface, the “AI look” everyone recognizes – or it gets replaced with a synthetic one: pores repeating at even intervals, random creases, patches that look tiled when you zoom in. Both come from the same limitation: the model knows what skin looks like in general, not what yours looks like in particular.
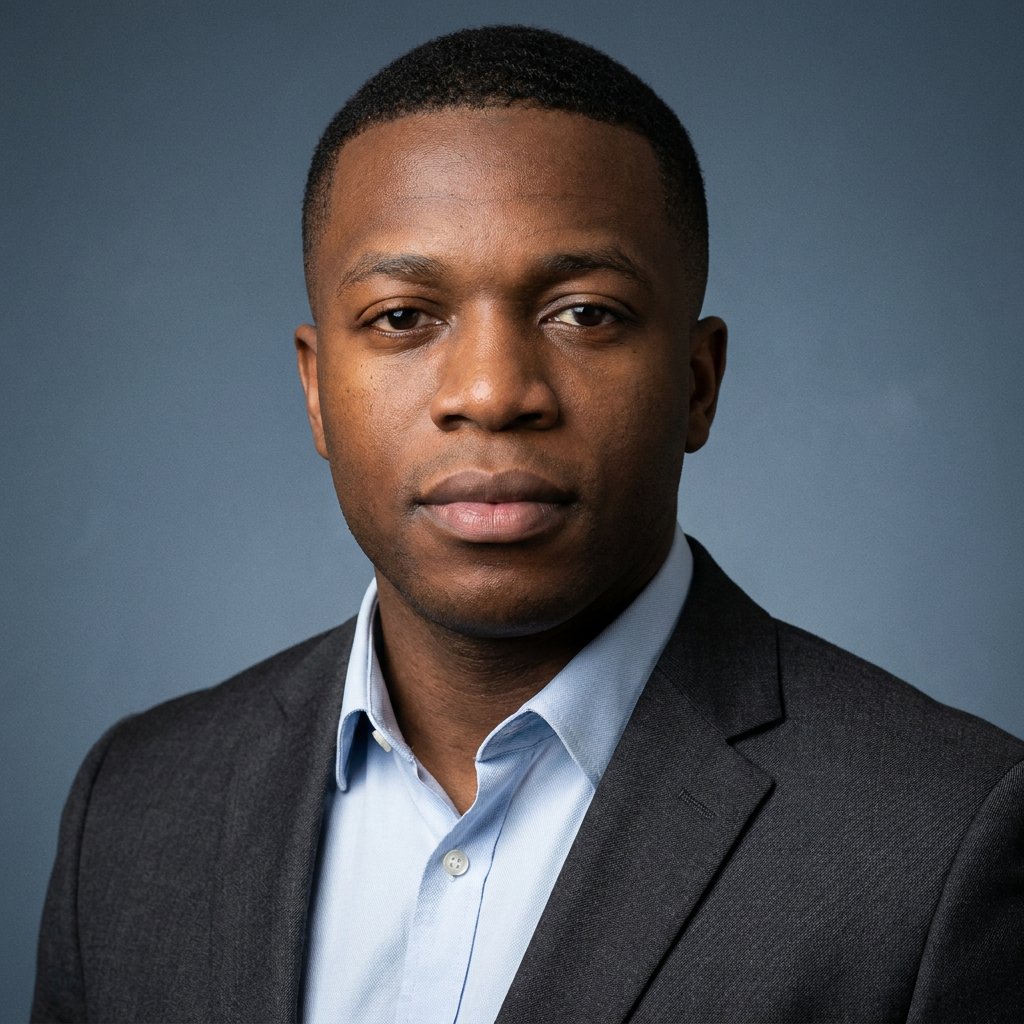
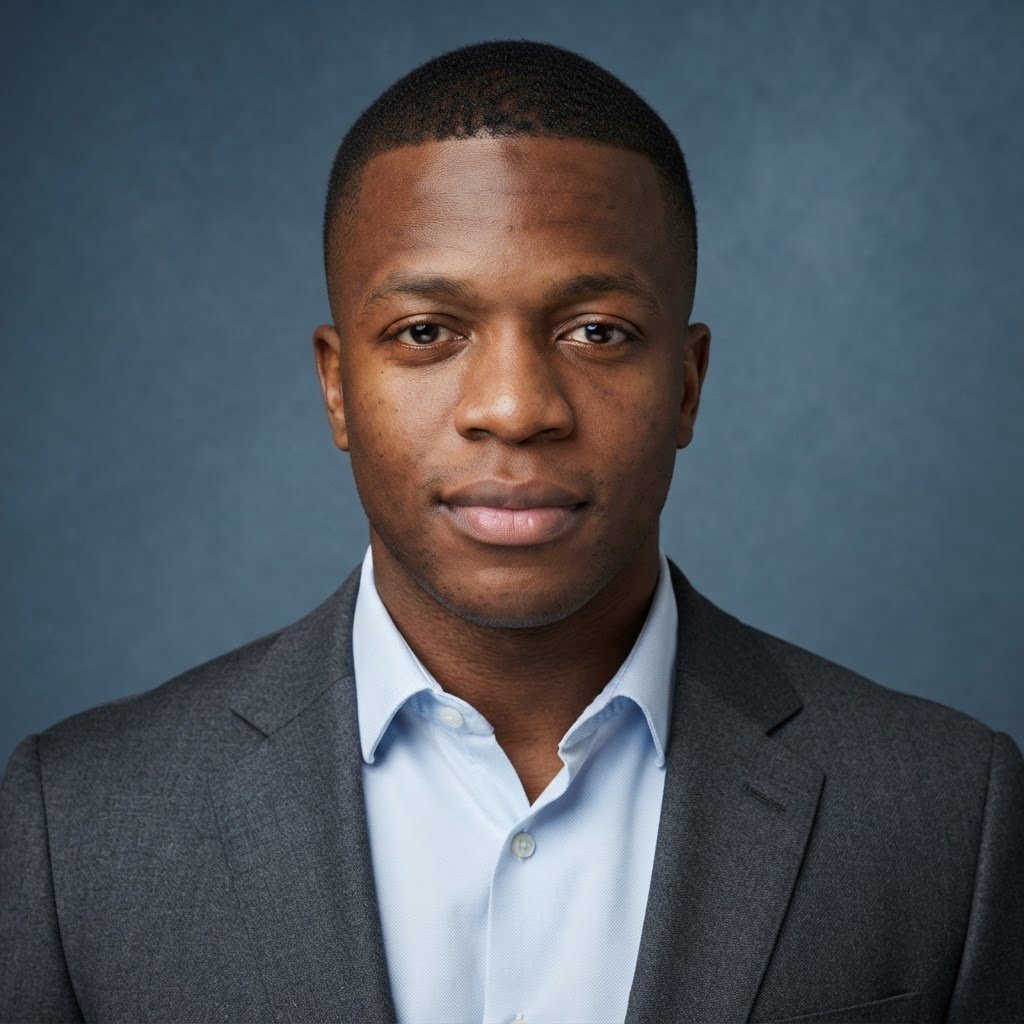
Same person, same look, two models: the free lite one and the paid one. Zoom in on the skin.
How to avoid it: don’t feed the model filtered selfies. A filter strips the real texture, so the model has to invent a replacement. A sharp, unedited phone photo in daylight gives it something real to work from; our phone headshot guide covers how to take one. When you pick from your results, zoom to 100% on a cheek and check both directions: pores that are missing, and pores that repeat.
Tell 2: unnatural gaze
In a real portrait both eyes converge on one point – the lens – and the viewer feels looked at. A model renders each eye more or less independently: each one is plausible on its own, but their directions don’t quite agree, so the portrait looks past you or through you. The error is a fraction of a degree – too small to point at, large enough to notice.


Same selfie, same look. The free model: an unnatural gaze, staring into the distance. The paid one: a natural gaze into the camera.
Catchlights – the reflections of the light source in the eyes – fail the same way, and they’re easier to inspect. Both eyes should show the reflection in the same position and shape; renders often place them differently, deform them, or drop one entirely.
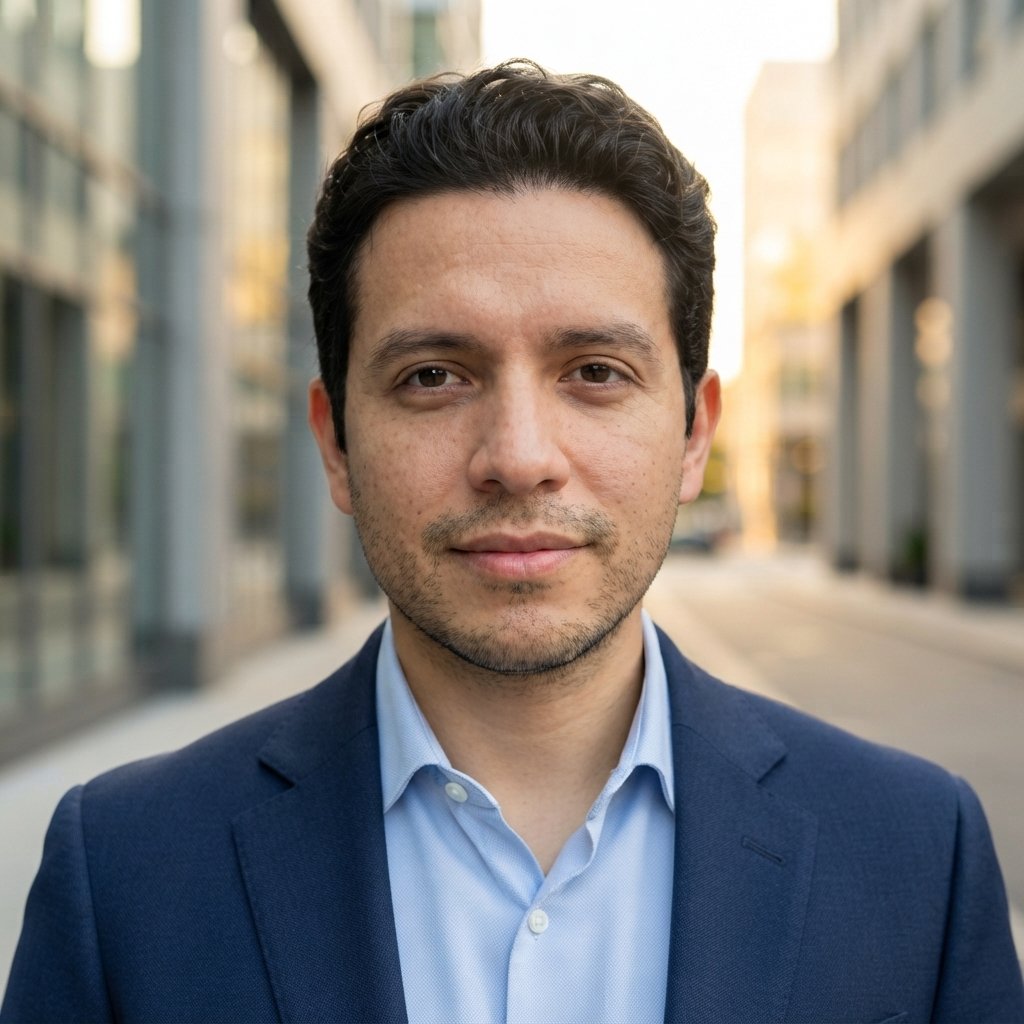
Same combo on the free model: the catchlights disagree between the eyes. The paid render keeps them consistent.
How to avoid it: no input fixes this one; it’s a per-render lottery. Check in two passes. At normal size, does the photo look at you? Zoomed in, do the eyes focus on one point, and do the catchlights match? If either check fails, take another result from the batch. The gaze is the first thing viewers read in a portrait.
Tell 3: dropped piercings and jewelry
A model reproduces what it statistically expects, and most portraits in its training data have bare ears, bare eyebrows, bare noses. A helix piercing, an eyebrow ring, or a nose stud is rare in that data, so the render quietly drops it – or keeps one earring of a pair. Nothing warps, nothing screams AI; a detail of you is simply missing. Teeth get the reverse treatment: the model doesn’t copy your slightly uneven row, it draws generic teeth – straighter and whiter than the ones in your selfie.


He wears hoops in both ears – in his selfie and in the paid render. The free model returned bare ears.
How to avoid it: compare the result with your selfie, item by item. Is every piercing and earring you wear still there? Are the teeth yours? The model tends to drop the same detail across renders, so if it matters to how you look, pick the result that kept it.
Tell 4: glasses without optics
A real lens is never invisible. It picks up at least a faint reflection of the light in front of you, it slightly shifts the edge of the face seen through it, and the frame casts a thin shadow on the cheek. A model draws glasses as a decal: perfectly transparent, perfectly flat glass – nothing reflects, nothing shifts, no shadow. The frame itself can be drawn well and the photo still reads as “glasses added in post,” because the glass isn’t behaving like glass.


Look at the lenses. The free model drew lenses with no reflection at all; in the paid render the glass catches the room’s light.
How to avoid it: if you only wear glasses sometimes, use a selfie without them – that removes the most physics-dependent object in the frame. If glasses are part of your face, keep them and check the lenses in the result: a faint reflection somewhere on the glass is normal; a lens with no reflection at all is the render.
Tell 5: light that doesn’t match the scene
A photograph has one light setup: whatever illuminates your face also illuminates the room, and everything agrees – direction, color, intensity. A model doesn’t simulate light; it renders the face the way faces are usually lit and the scene the way scenes usually look, as two separate habits. The result is close but not coherent: a face in soft studio light standing in a warm, lamp-lit office; a shadow side that doesn’t face away from the window; a highlight with no source anywhere in the room. Viewers rarely name the light as the problem – they say the person looks pasted in.


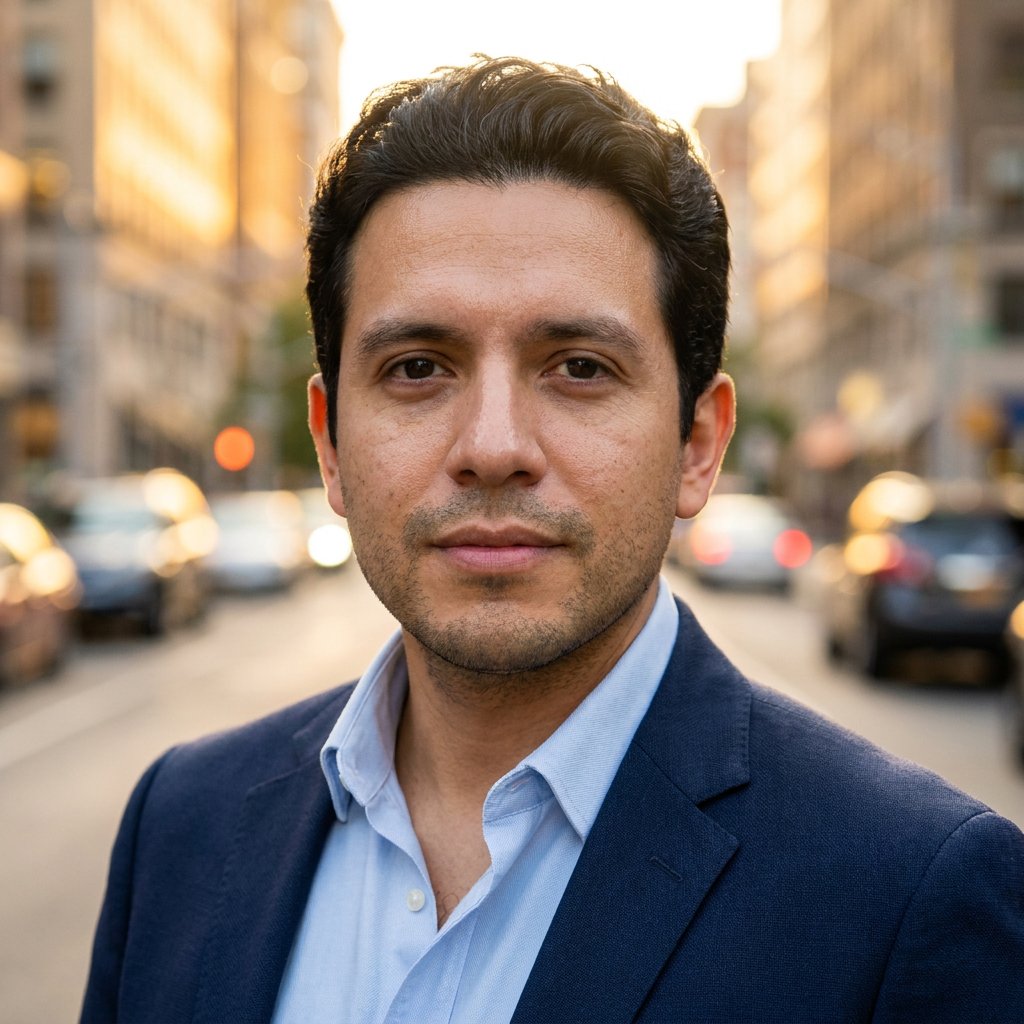
Same person, same look. The free model: an ID-photo face in a golden-hour scene. The paid render lights the face from the scene.
How to avoid it: find the brightest thing in the scene, then check that the bright side of the face points at it – that one comparison catches most incoherent renders. Simple backdrops help too: a plain studio background gives the face’s light almost nothing to contradict. And lighting coherence varies from render to render, so compare candidates from the batch instead of judging the first one.
Tell 6: smeared hair edges and background melt
Look where hair meets background. Individual strands are high-frequency detail – expensive to render – so the model draws the mass of hair well and the boundary badly: a soft, painted-looking transition instead of separate strands. Flyaways either disappear entirely, leaving an unnaturally clean silhouette, or merge into a vague haze. The background degrades the same way, because it gets a fraction of the model’s attention: book spines with almost-letters, plants that don’t hold up to a look.

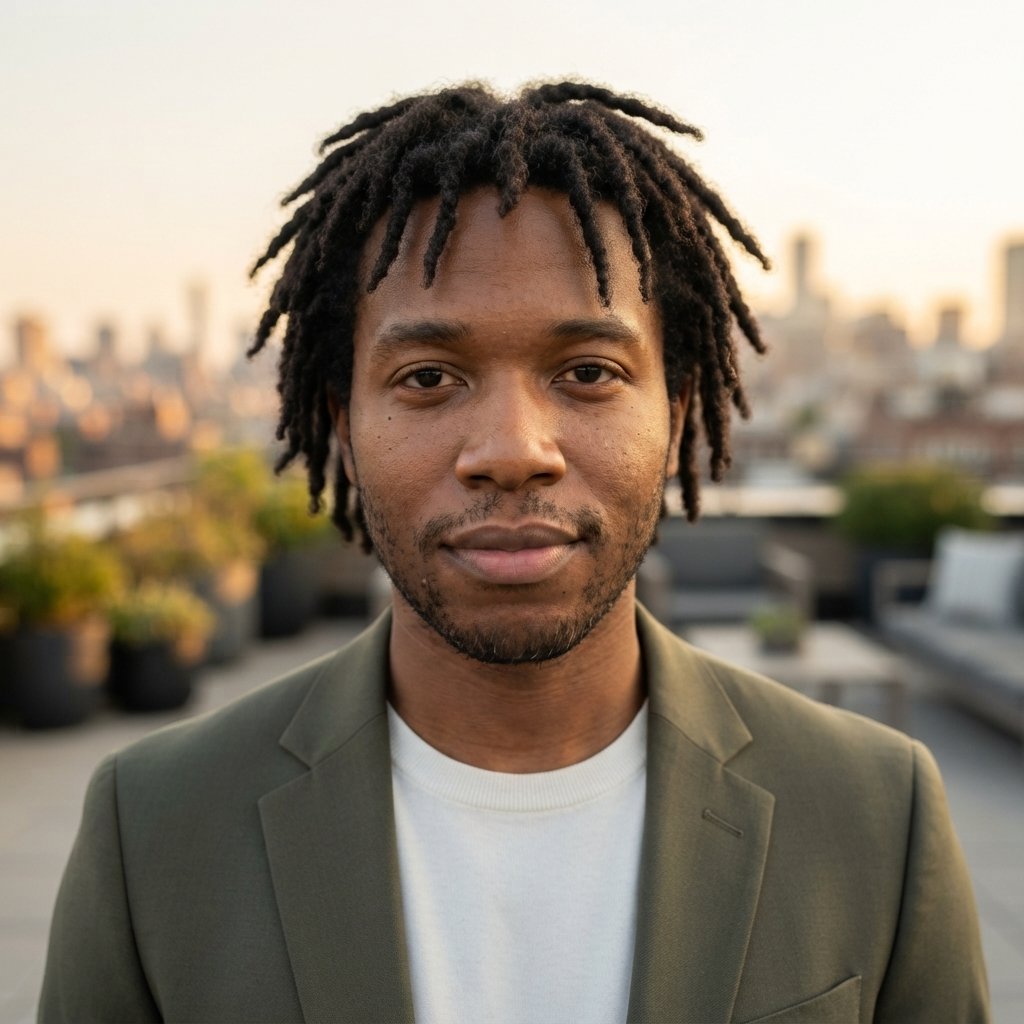
Follow the outline of the hair: smeared tips against separate ones. Both renders are from the free model – same selfie, same look, different roll of the dice.
How to avoid it: prefer results with a softly blurred background – real portrait lenses blur it too, and blur leaves nothing detailed to break. Check the hairline at 100%, especially with flyaways or curls: separate strands crossing the background are a good sign; a boundary that looks brushed or smudged is the render.
Tell 7: likeness drift
The biggest failure isn’t an artifact. The photo is technically clean – it just isn’t quite you. Jaw slightly squarer, nose slightly straighter, several years younger. A headshot has one job: to be recognizably you. A flattering photo of someone almost-you fails it.
The drift usually starts in the input: the model builds your face from the photos you upload, and an odd angle or a strong filter hands it a version of you that already doesn’t look like yourself.


The selfie and a drifted render: strong resemblance, different person.
For calibration: the same selfie through the paid model. The lighting, the outfit and the office are new; the face is the one from the phone.

Same selfie through the paid model: new light, new clothes, the same face – wrinkles, grey hairs and all.
How to avoid it: choose a source selfie where you look the way your colleagues see you – straight-on, no filter. Then test the output: would someone who’s only met you on video calls recognize this photo without the name next to it? If the model returns a flattering almost-you – it happens – don’t post it.
The 90-second check
Run this on any AI headshot – yours or anyone’s – in order:
- Cheek at 100%. Pores visible – and not repeating?
- The gaze. Does the photo look at you? Catchlights matching?
- Shadows. Nose and chin pointing the same way the eyes claim?
- Light vs scene. Is the bright side of the face turned toward the scene’s light source?
- Piercings and earrings. Everything you actually wear still there?
- Teeth. Yours, or a catalog row?
- Glasses. Is the glass behaving like glass – a hint of reflection, a shifted face edge?
- Hairline. Separate strands, or a smudged transition?
- Background. Do the objects hold up to five seconds of looking?
- Recognition. Would a video-call-only colleague name this person?
Ten checks, ninety seconds. If a photo passes all ten, either it’s real – or nobody will ever know it isn’t.
Where that leaves you
The failures are specific and checkable. That’s the whole point of this post.
To see the tells live, the free generator makes one headshot from one selfie – free, no signup, on the same model that produced every bad example above. The paid version runs a stronger model and returns 24 photos across two looks for $7–10. What the money buys is odds: fewer artifacts, more results that pass the checklist. If none pass, you have 14 days to tell us and get a refund.
FAQ
Can recruiters tell a headshot is AI?
Less often than they think. In a June 2024 Ringover survey of 1,087 US recruiters, 80% were confident they could spot AI headshots; they got it right 39.5% of the time. In the same survey, 76.5% preferred the AI headshots in a blind comparison – and 66% said discovering a photo was AI would put them off. A good AI headshot is fine; a spotted one is a problem. That’s what the checklist is for.
Does an AI headshot violate LinkedIn’s rules?
No, with one condition. In February 2026, LinkedIn told CBS News that tools, including AI, are allowed for creating or enhancing profile photos, but the photo must “reflect your likeness.” That makes likeness drift the only tell with a policy attached. A waxy render looks bad; a drifted face is removable as not being you. Where AI fits on LinkedIn at all, survey numbers included, is in our LinkedIn profile picture guide.
If people can’t spot fake faces, why do AI headshots still fail?
Because those are two different jobs. A fully synthetic face – a person who doesn’t exist – passed the human eye years ago: in a 2022 PNAS study, participants couldn’t tell synthetic faces from real ones and rated the synthetic ones as more trustworthy. An AI headshot is the harder problem: the model has to preserve one specific person’s likeness in a specific outfit, lighting, and background. The seven tells above are where that harder job breaks.